Stop normal acceptance
Hold packs from the last accepted check or other site-defined boundary while the cause is unknown.

Defect diagnosis
A high trigger cap can result from tube obstruction, incomplete seating, cross-threading, placement height, bottle movement, insufficient tightening or component variation.
Direct answer
A trigger cap may sit high because the dip tube is trapped, the closure has not seated, the thread started incorrectly, the bottle moved, the placement or head height is wrong, tightening was incomplete or the bottle/closure components changed. Hold affected packs, record the current settings and inspect tube entry, seating and thread condition before adding torque.
Use a fixed bottle and closure reference for cap-height measurement and compare the result with an approved sample or project limit. The same visible symptom can originate in the feeder, placement station, pre-threading, bottle support, tightening stage or component supply.
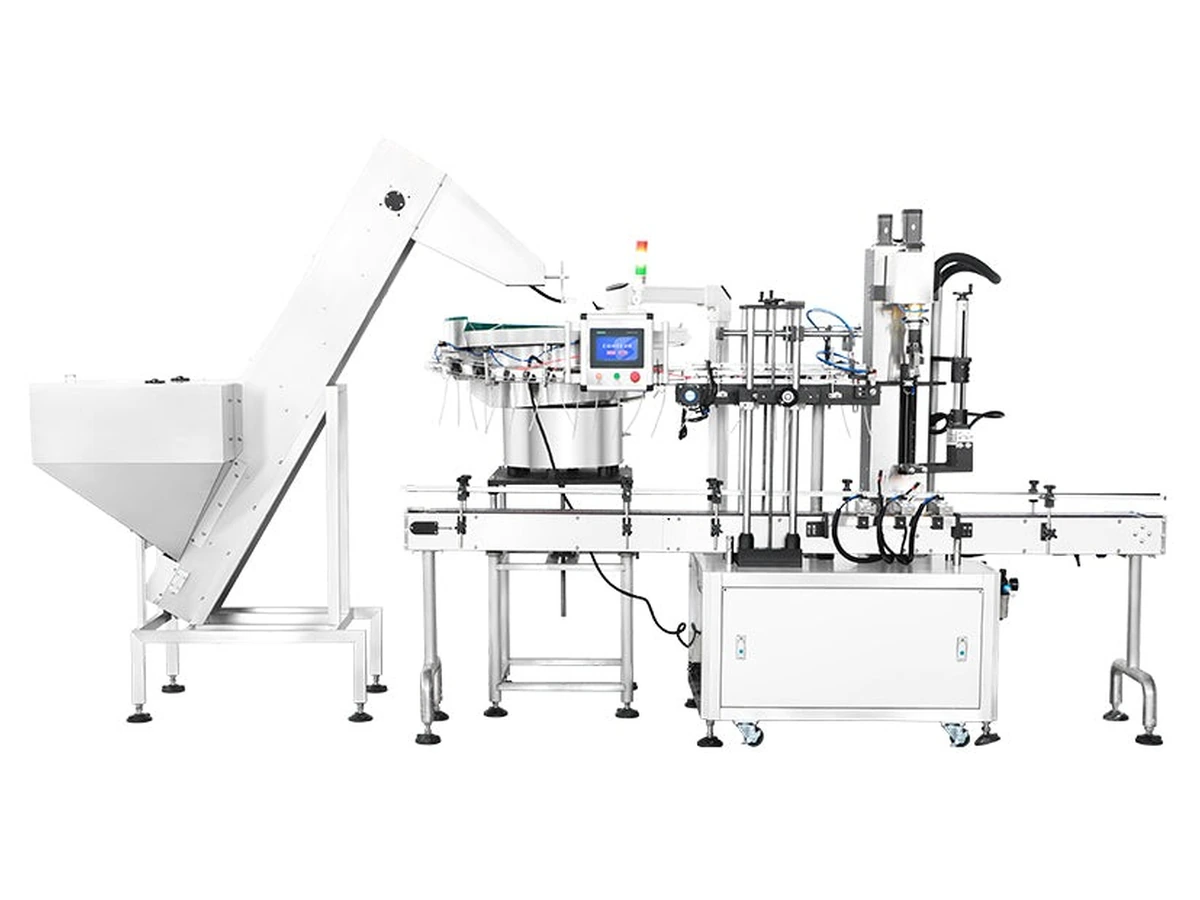
Diagnostic sequence
| Check | Possible high-cap mechanism | Evidence to capture |
|---|---|---|
| Dip-tube entry | Tube catches on the neck, shoulder or bottle interior and prevents the closure seating. | Tube condition, entry path, bottle format, closure lot and retained defect sample. |
| Closure placement | Cap is delivered at an angle or above the intended seating position. | Placement height, gripper/transfer contact, bottle centring and slow observation or video where available. |
| Thread start | Closure is cross-threaded, cocked or only partly engaged before tightening. | Thread condition, cap angle, pre-threading result and destructive inspection where approved. |
| Bottle support | Bottle lifts, twists, tips or deflects instead of resisting the application action. | Filled-weight sample, guide/clamp contact, side support and bottle movement. |
| Tightening | Head height, contact, pressure, speed or available engagement is insufficient for the seated closure. | Settings revision, tool condition, cap surface contact and approved torque/functional result. |
| Components | Neck finish, closure thread, moulding, tube or packaging condition differs from the approved reference. | Supplier/revision, lots, incoming inspection and comparison samples. |
Containment and recovery
Hold packs from the last accepted check or other site-defined boundary while the cause is unknown.
Capture format, component lots, settings, machine state, recent replenishment or intervention and representative samples.
Check feeder and closure condition, tube entry, placement, thread start, bottle control and tightening rather than jumping directly to the final head.
Make one controlled change where practical and repeat the relevant checks. Avoid compensating for an unverified component change.
Release normal production only after the agreed finished-pack checks pass and affected material has a recorded site decision.
Related questions
Only if incomplete tightening is the confirmed cause and the pack remains correctly seated and threaded. More torque cannot correct a trapped tube, angled placement or cross-threading and may damage the closure, bottle or thread. Diagnose the sequence before adjusting.
Use fixed reference points on the bottle and closure, a defined gauge or method and consistent measurement timing. Record the format, sample condition and limit. A visual comparison may support inspection, but the project should define a repeatable method where height is critical.
Yes. A tube can catch on the neck, shoulder or bottle interior, fold under the closure or pull the trigger body out of position. Inspect tube entry and condition before assuming the tightening head is responsible.
Restart normal acceptance after the cause or controlled corrective action has been reviewed, the transfer path and affected components are checked, and first-off packs pass the agreed tube-entry, thread, cap-height, torque/functional, appearance and orientation checks.
Provide approved and affected samples, component lots, settings, photographs or video and the sequence that leads to the defect.